Easy No-Bake Peanut Butter Chex Bars: Your New Favorite Sweet & Salty Treat
In the realm of effortless desserts and crowd-pleasing snacks, few treats hold a candle to the humble yet magnificent no-bake peanut butter chex bars. Combining the crunchy delight of Chex cereal with the irresistible duo of peanut butter and chocolate, these bars offer a symphony of textures and flavors that will transport you straight back to childhood, albeit with a grown-up twist. Forget turning on the oven; these remarkably simple chex bars come together in minutes on the stovetop and chill to perfection, making them an ideal choice for busy weeknights, last-minute parties, or simply satisfying that sweet-and-salty craving whenever it strikes.
Whether you're a devoted fan of the classic chocolate-peanut butter pairing or searching for a convenient, delicious snack, these easy chex bars are a guaranteed hit. Their subtle hint of salt elevates the sweetness, creating a perfectly balanced treat that's impossible to resist, especially with a tall glass of cold milk.
The Irresistible Allure of No-Bake Chex Bars
What makes these peanut butter chex bars so universally beloved? Part of their charm lies in their incredible simplicity. There's no complicated baking, no delicate tempering, just a few straightforward steps that yield impressive results every time. This accessibility makes them a fantastic recipe for beginner cooks, busy parents, or anyone looking for a quick win in the kitchen.
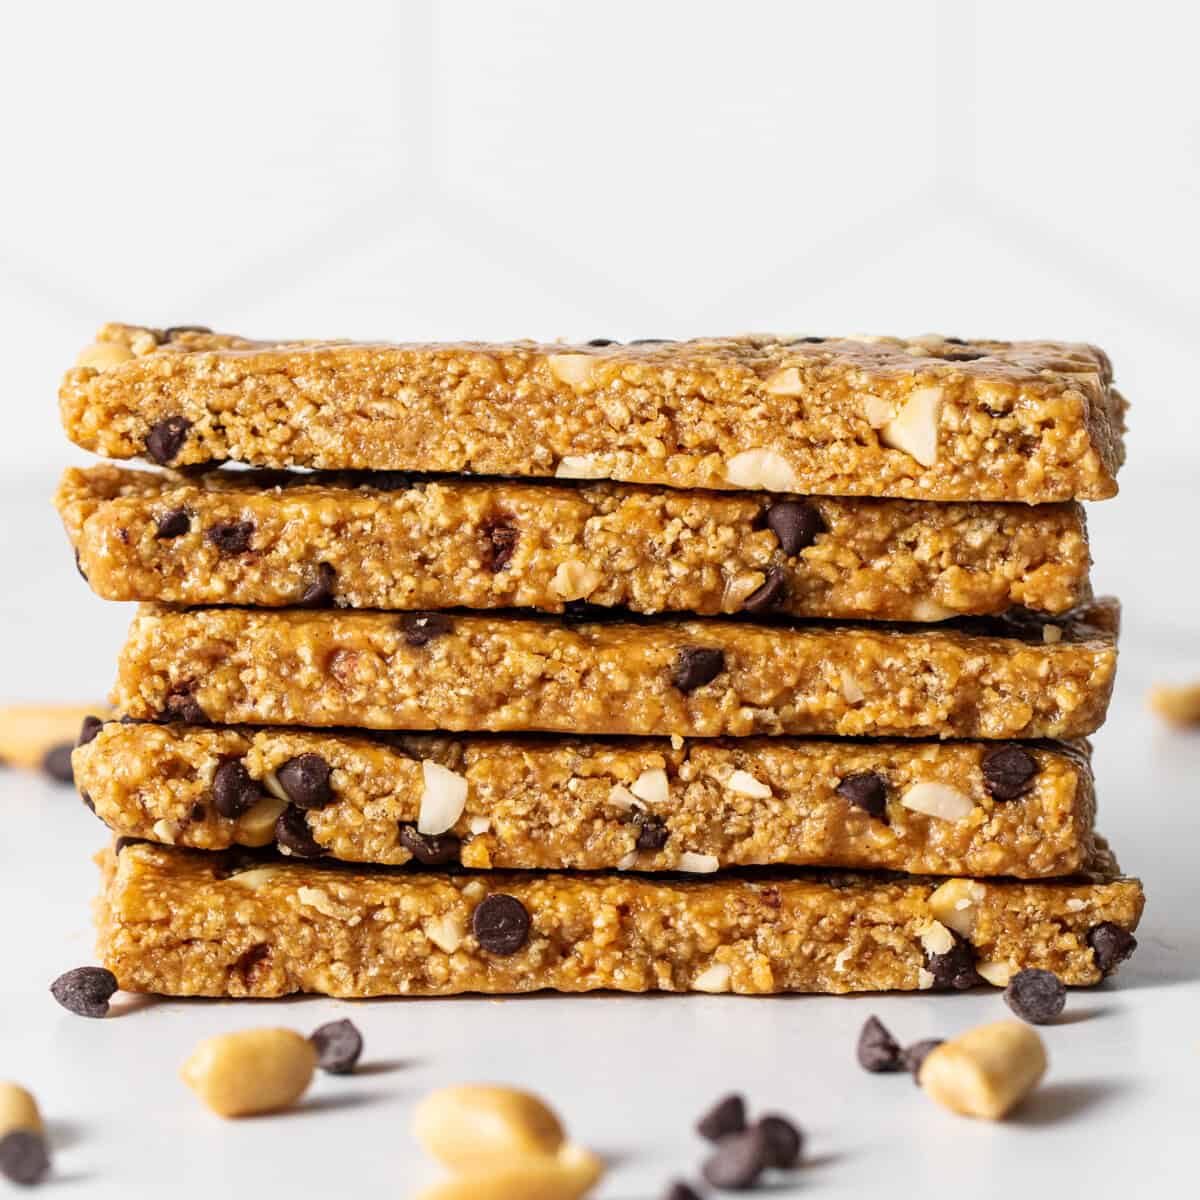
Beyond their ease, the magic of these chex bars lies in their flavor profile. The combination of creamy peanut butter and rich chocolate is a culinary match made in heaven, a duo that has captivated taste buds for generations. When you add the light, crispy texture of Chex cereal into the mix, you get a satisfying crunch that makes each bite an experience. Plus, the subtle addition of salt cuts through the sweetness, preventing them from being cloyingly rich and instead creating that addictive sweet-and-salty balance we all crave.
These cereal treats also carry a wonderful nostalgic quality. Much like the iconic Kellogg's cereal bars many of us grew up with, these homemade versions offer a superior, more flavorful experience that evokes cherished memories while creating new ones. They’re a fantastic make-ahead snack for school lunches, office breaks, road trips, or even as a delightful accompaniment to your afternoon coffee.
Crafting Your Perfect Peanut Butter Chex Bars: A Step-by-Step Guide
Making these delightful chex bars is incredibly straightforward. Here’s a detailed breakdown to ensure your success, building on proven techniques for the perfect texture and flavor.
Ingredients You'll Need:
- Approximately 6-8 cups of your preferred Chex cereal (Rice Chex, Corn Chex, or even Peanut Butter Chex work wonderfully).
- 1 cup granulated sugar
- 1 cup honey (or corn syrup for a slightly different texture)
- Approximately 1 1/4 cups creamy peanut butter for the base, plus another 1/3 cup for the topping
- 1/2 teaspoon salt (or to taste, for that essential sweet-and-salty balance)
- 1 cup semi-sweet chocolate chips (or your favorite type of chocolate)
- 1/4 cup unsalted butter, softened
- Optional: A tablespoon of coconut oil, if thinning the peanut butter mixture is needed.
The Easy No-Bake Directions:
- Prepare Your Pan: First, gather all your ingredients to ensure a smooth process. Line a 9x13-inch baking pan with aluminum foil, allowing for a generous overhang on the sides. This "foil sling" will be your best friend when it's time to remove and cut the bars. Lightly coat the foil with nonstick cooking spray to prevent any sticking.
- Create the Sweet Peanut Butter Base: In a 4- to 6-quart Dutch oven or a large, heavy-bottomed pot, combine the granulated sugar and honey. Heat this mixture over medium heat, stirring frequently, just until it begins to boil. The key here is to dissolve the sugar and warm the honey without scorching. Once boiling, remove it from the heat. Immediately stir in 1 1/4 cups of peanut butter and the salt until the mixture is completely smooth and well combined. If the mixture seems too thick, especially after adding peanut butter, a tablespoon of coconut oil can help thin it slightly.
- Combine with Cereal: Add your Chex cereal directly into the pot with the peanut butter mixture. Stir gently but thoroughly until every piece of cereal is evenly coated. This ensures that each bar will hold together beautifully and deliver consistent flavor.
- Press into Pan: Transfer the coated cereal mixture to your prepared baking pan. Using a spatula or the back of a spoon, spread and press the mixture into an even, firm layer across the bottom of the pan. The firmer you press, the better your bars will hold their shape. Set aside to cool while you prepare the topping.
- Whip Up the Decadent Chocolate Topping: In a medium microwave-safe bowl, combine the chocolate chips, the remaining 1/3 cup of peanut butter, and the softened butter. Microwave on high for 1 to 1 1/2 minutes, stirring every 30 seconds, until the mixture is fully melted and smooth. Alternatively, you can melt this mixture over a double boiler for a more controlled melting process.
- Top and Chill: Pour the melted chocolate mixture evenly over the pressed Chex bars. Use an offset spatula to spread it smoothly to all edges. Once topped, transfer the pan to the refrigerator and chill for at least 1 hour, or until the chocolate topping is completely set. If you're in a hurry, placing them in the freezer for about 30 minutes can speed up the setting process.
- Slice and Serve: Once chilled and firm, use the foil overhang to lift the entire slab of bars out of the pan. Place it on a cutting board and slice into your desired bar size. Store your delicious chex bars at room temperature in an airtight container for up to 5 days, or longer if refrigerated.
Elevating Your Chex Bar Experience: Tips, Tricks, and Variations
While the basic recipe for peanut butter chex bars is fantastic on its own, there are many ways to customize and enhance them to suit your preferences or occasion:
- Cereal Choices: Don't limit yourself to just Rice Chex. Corn Chex offers a slightly different texture, while Peanut Butter Chex cereal amplifies the peanut butter flavor to an incredible degree. Feel free to mix and match!
- The Salty Crunch Factor: For an extra layer of texture and an even more pronounced sweet-and-salty profile, sprinkle crushed pretzel bits over the chocolate topping before chilling. This adds a delightful snap and savory counterpoint.
- Marshmallow Magic: Some variations of chex bars use melted marshmallows and butter as the binding agent instead of honey and sugar. If you prefer that classic Rice Krispie Treat texture, this is an excellent alternative to experiment with.
- Spice It Up: A pinch of cinnamon added to the peanut butter base can introduce a warm, inviting note that complements both the peanut butter and chocolate beautifully.
- Chocolate Varieties: Experiment with dark chocolate for a richer, less sweet topping, or use milk chocolate for an extra creamy, sweeter finish. White chocolate can also make for a striking visual and flavor contrast.
- Nutty Additions: For an extra layer of flavor and crunch, consider stirring in some chopped roasted peanuts or other nuts into the cereal mixture before pressing it into the pan.
- Troubleshooting Thickness: If your peanut butter mixture seems too thick to easily coat the cereal, a small amount of coconut oil (a tablespoon or so) can help loosen it up without compromising the flavor or setting ability.
Make-Ahead & Storage Solutions for Your Chex Bars
One of the best features of these easy chex bars is their fantastic make-ahead potential, making them an ideal choice for meal prepping snacks or preparing treats in advance for gatherings. Once fully set, they can be stored in several ways:
- Room Temperature: Keep them in an airtight container at room temperature for up to 5 days. This is perfect for quick grab-and-go snacks.
- Refrigerator: For a firmer bar and extended freshness, store them in an airtight container in the refrigerator for up to 1-2 weeks. This can also be beneficial in warmer climates to prevent the chocolate topping from becoming too soft.
- Freezer: These chex bars freeze exceptionally well! Once sliced, place them in a single layer on a baking sheet to flash freeze for about an hour. Then, transfer them to a freezer-safe bag or airtight container, separated by parchment paper, for up to 3 months. When ready to enjoy, simply let them thaw at room temperature for a few minutes.
For more in-depth make-ahead strategies and storage tips, check out our Make-Ahead Peanut Butter Chex Bars: The Ultimate Snack Guide. If you're looking for a taste of pure nostalgia, our Classic Peanut Butter Chex Bars: A Grown-Up Childhood Treat delves deeper into the timeless appeal of this beloved snack.
Conclusion
Easy No-Bake Peanut Butter Chex Bars are more than just a simple dessert; they're a testament to how uncomplicated ingredients can create something truly extraordinary. With their perfect balance of sweet and salty, satisfying crunch, and the sheer joy of the peanut butter-chocolate combination, these chex bars are destined to become a staple in your recipe repertoire. So go ahead, gather your ingredients, and whip up a batch of these irresistible treats. You'll be amazed at how quickly they disappear!
